Rocky Talkie Manual: A Comprehensive Guide
This manual provides detailed instructions for the Rocky Talkie 5W radio, covering everything from initial setup to advanced features.
It includes channel mappings,
troubleshooting, and guidance for effective communication, as of today, April 28, 2026.
Welcome to the world of reliable and accessible communication with the Rocky Talkie! This radio is designed for adventurers, outdoor enthusiasts, and anyone seeking a dependable way to connect. The Rocky Talkie 5W radio quickly becomes operational right out of the box, offering immediate usability.
This guide serves as your comprehensive resource, walking you through every aspect of your new radio. From understanding its core functionalities to mastering advanced settings, we’ll ensure you’re equipped to make the most of your Rocky Talkie. A handy, printable cheat sheet for channel mappings is available online, simplifying frequency and tone configurations.
Whether you’re navigating mountain trails or coordinating with a group, the Rocky Talkie empowers you with clear and consistent communication. Powering on the device is simple: just press and hold the power button for two seconds. Let’s begin your journey to seamless connectivity!
What is a Rocky Talkie and its Purpose?
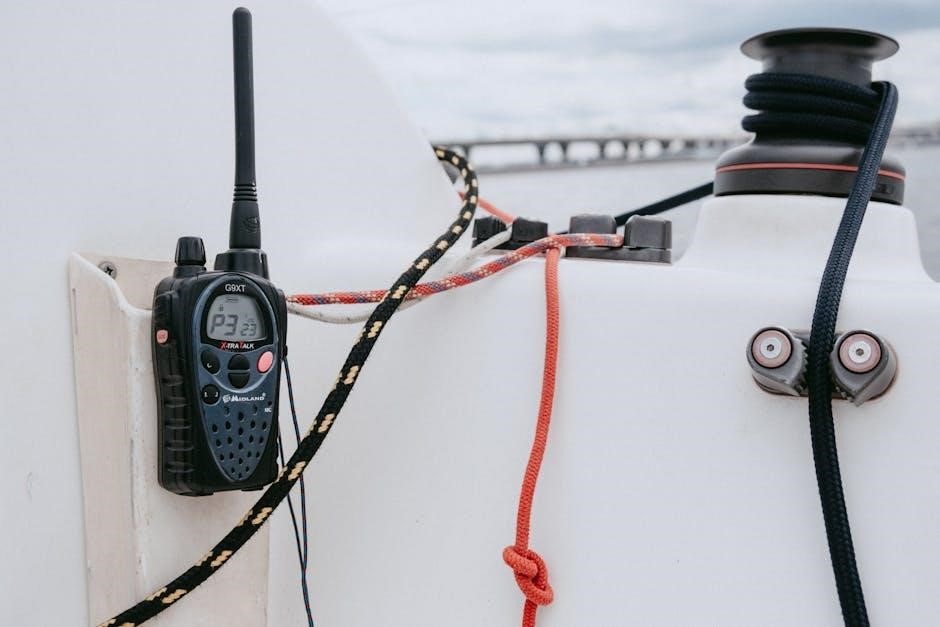
The Rocky Talkie is a 5W General Mobile Radio Service (GMRS) two-way radio, engineered for clear and dependable communication in a variety of settings. Unlike traditional radios, the Rocky Talkie prioritizes ease of use without sacrificing performance; It’s built for those who need a reliable connection when cell service is unavailable or unreliable.
Its primary purpose is to facilitate group communication, whether you’re hiking, camping, overlanding, or simply coordinating activities with family and friends. The radio’s robust design and user-friendly interface make it ideal for both beginners and experienced radio users.
Furthermore, the Rocky Talkie supports both standard GMRS channels and Mountain Radio mapping, expanding its versatility. It’s a tool for safety, coordination, and staying connected, offering peace of mind in remote locations. The device is designed to be immediately operational upon unboxing, allowing for instant communication.
Key Features of the Rocky Talkie 5W Radio
The Rocky Talkie 5W radio boasts several key features designed for optimal performance and user experience. Its 5-watt output provides a substantial communication range, ensuring connectivity over considerable distances. A crucial feature is its compatibility with both standard GMRS channels and the popular Mountain Radio mapping system, offering flexibility in frequency selection.
The radio’s intuitive controls, including a dedicated Push-to-Talk (PTT) button, simplify operation. Volume adjustment allows users to customize audio levels for clear reception. Signal strength indicators provide real-time feedback on connection quality.
Additionally, the Rocky Talkie includes a scanning function for automatically searching available channels. Squelch control minimizes background noise, enhancing clarity. A printable cheat sheet for channel mappings is readily available online, aiding in quick reference and setup. The radio is designed for immediate operation after unboxing, with a simple power-on process involving holding the power button for two seconds.

Getting Started with Your Rocky Talkie
This section guides you through the initial steps of using your Rocky Talkie. From unboxing to powering on, learn the basics for immediate operation and setup!
Unboxing and Initial Setup
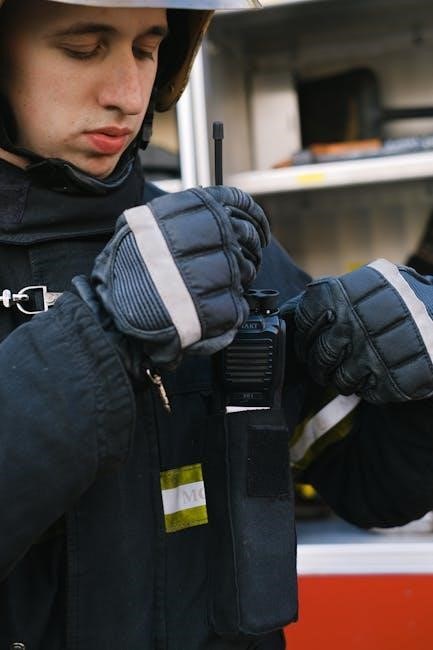
Upon receiving your Rocky Talkie 5W radio, carefully open the packaging. Inside, you should find the radio unit itself, a rechargeable battery (likely pre-installed), and potentially a charging cable – verify all components are present. The Rocky Talkie is designed for immediate usability; it becomes operational right out of the box.
Before first use, it’s recommended to fully charge the battery using the provided cable. While charging isn’t strictly required for initial setup, ensuring a full charge guarantees uninterrupted operation during your first communication attempts. Familiarize yourself with the radio’s physical layout – locate the power button, push-to-talk (PTT) button, volume controls, and channel selector.
A helpful tip, especially for frequent users, is to print a frequency and tone mapping guide, like the one available on Reddit’s r/gmrs, for quick reference. This eliminates the need to constantly consult the full manual when adjusting channels.
Powering On and Off
Operating the Rocky Talkie 5W radio is straightforward. To power on the device, locate the designated power button on the unit. Press and hold this button for approximately two seconds. You’ll likely hear an audible tone or see a visual indicator (such as an illuminated screen) confirming the radio has successfully powered on. The radio is now ready for channel selection and communication.
To power off the Rocky Talkie, repeat the same process – press and hold the power button for two seconds. Again, an audible tone or visual cue will signal that the radio is shutting down. Ensuring the radio is fully powered off when not in use conserves battery life and prevents accidental transmissions.
Remember, quick taps of the power button will not turn the radio on or off; a sustained press is required. Always double-check the power status before attempting to transmit or receive, ensuring optimal performance and avoiding unnecessary battery drain.
Understanding the Basic Controls
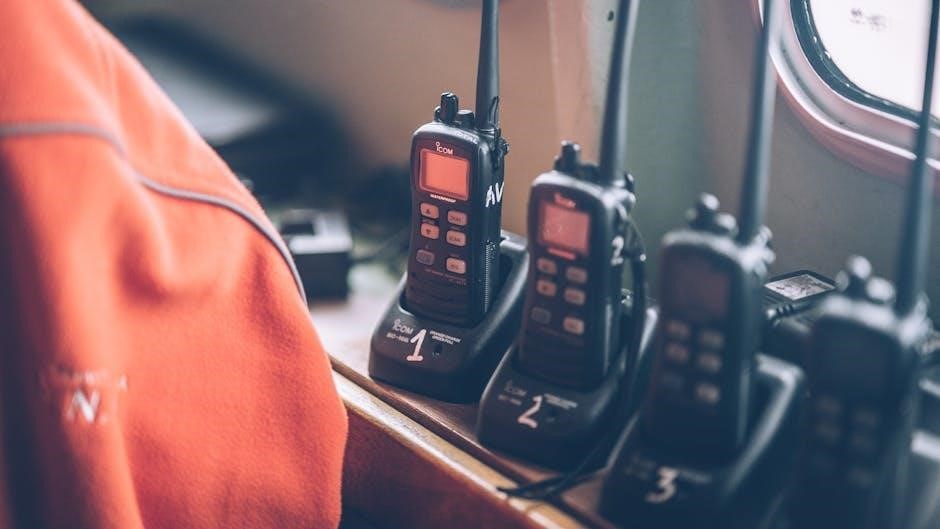
The Rocky Talkie 5W radio features intuitive controls for ease of use. The most prominent is the Push-to-Talk (PTT) button, essential for initiating transmissions. Press and hold this button while speaking to broadcast your message. Releasing the PTT allows others to respond.
A rotary dial or dedicated buttons control volume adjustment. Experiment to find a comfortable listening level. Separate controls manage channel selection, allowing you to navigate pre-programmed frequencies or manually tune into desired channels. Pay attention to the channel mapping guide for optimal results.
Additionally, a scan button enables automatic searching for active channels. Signal strength indicators, typically displayed visually, provide feedback on transmission quality and range. Familiarizing yourself with these basic controls is crucial for effective communication and maximizing the radio’s capabilities.

Frequency and Channel Mapping
Understanding channel mappings is vital for clear communication. Utilize the provided guide, including Mountain Radio mappings, for optimal frequency selection and reliable connectivity with others.

Rocky Talkie Channel Mapping Guide
The Rocky Talkie 5W radio utilizes a specific channel mapping system to ensure compatibility and clear communication across various frequencies. A handy, printable cheat sheet, readily available online (as of December 10, 2025, according to r/gmrs on Reddit), simplifies this process, offering a one-page reference for both standard and Mountain Radio mappings.
This guide is significantly more convenient than referencing the full manual, especially when operating in the field. It allows for quick and accurate channel selection, minimizing confusion and maximizing communication efficiency. Understanding these mappings is crucial for connecting with other users and accessing specific communication networks.
The channel mapping details the corresponding frequencies for each channel on the Rocky Talkie, enabling users to tune into pre-defined frequencies or manually input specific frequencies for tailored communication. Keeping this guide accessible alongside your radio is highly recommended for seamless operation.
Mountain Radio Mapping Explained
Mountain Radio mapping for the Rocky Talkie 5W radio represents a pre-configured set of frequencies optimized for enhanced communication in mountainous or challenging terrain. This mapping, often included alongside standard channel charts (referenced on Reddit’s r/gmrs as of December 10, 2025), prioritizes frequencies known for better signal penetration and reduced interference in areas with obstructions.
Utilizing Mountain Radio mapping can significantly improve range and clarity when operating in valleys, forests, or near hills. It’s particularly beneficial for group activities like hiking or off-roading where reliable communication is paramount. The pre-programmed settings eliminate the need for manual frequency adjustments, streamlining the setup process.
However, it’s important to note that Mountain Radio mapping may not be ideal for all locations. Understanding the specific terrain and potential interference sources is crucial for maximizing communication effectiveness. Referencing a comprehensive channel mapping guide ensures optimal performance.
Using Pre-Programmed Channels
The Rocky Talkie 5W radio comes equipped with pre-programmed channels designed for immediate use, simplifying operation for beginners. These channels cover commonly used frequencies for General Mobile Radio Service (GMRS) and other compatible services. Utilizing these presets eliminates the need for manual frequency input, offering a quick and convenient communication solution.
To access a pre-programmed channel, simply use the channel selector knob to navigate to the desired number. The radio’s display will indicate the selected channel. Remember that channel mappings can vary, and referencing a cheat sheet (as discussed on Reddit’s r/gmrs, December 10, 2025) or the full manual is recommended.
For optimal performance, especially in varied terrain, consider exploring Mountain Radio mapping presets. These pre-configured channels are optimized for improved signal penetration. Always verify channel legality and adhere to local regulations before transmitting.
Communication Basics
Effective communication with your Rocky Talkie involves mastering the push-to-talk button, volume adjustment, and understanding signal strength.
Power on the device by holding the power button for two seconds.
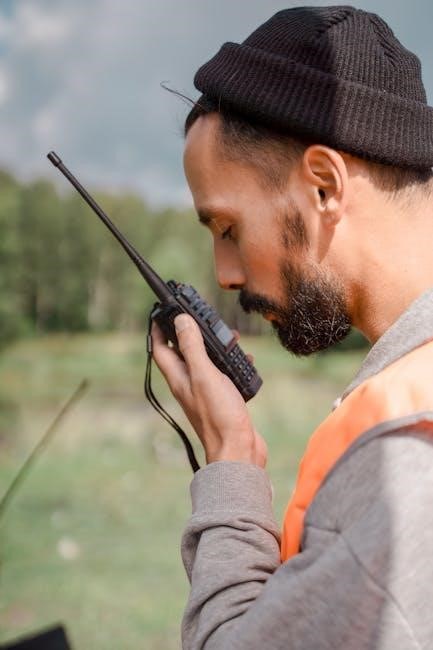
Using the Push-to-Talk (PTT) Button
The Push-to-Talk (PTT) button is fundamental to operating your Rocky Talkie. To initiate a transmission, firmly press and hold the PTT button before speaking into the radio. Maintaining a consistent distance from the microphone ensures clear audio quality for the receiving party.
Continue holding the PTT button throughout the duration of your message. Releasing the button immediately ends the transmission. It’s crucial to practice this action to develop muscle memory for quick and efficient communication, especially in dynamic situations.
Avoid speaking directly into the microphone; a slight offset is recommended to prevent distortion. Listen for a brief pause after releasing the PTT button before responding to avoid talking over others. Remember, the PTT button activates the transmitter, allowing your voice to be broadcast on the selected channel. Proper PTT etiquette is vital for clear and respectful communication within a group.
Adjusting Volume Levels
Your Rocky Talkie features intuitive volume control for both incoming and outgoing audio. The volume control knob allows you to precisely adjust the speaker volume to a comfortable listening level, ensuring you can clearly hear incoming transmissions even in noisy environments.
Rotating the knob clockwise increases the volume, while rotating it counter-clockwise decreases it. It’s recommended to start with a low volume and gradually increase it until you achieve optimal clarity. Be mindful of excessive volume levels, as prolonged exposure can damage your hearing.
The volume setting affects only the speaker output; it does not impact the microphone sensitivity. Experiment with different volume settings to find what works best for various communication scenarios. Regularly check the volume level, especially when transitioning between quiet and loud environments, to maintain clear communication.
Understanding Signal Strength Indicators
The Rocky Talkie utilizes a signal strength indicator to visually represent the quality of the radio signal you are receiving from other users. This indicator, typically displayed as a series of bars or a numerical value, provides crucial information about the reliability of your connection.
A higher number of bars, or a larger numerical value, indicates a stronger signal, suggesting clearer audio and reduced interference. Conversely, fewer bars or a lower value signify a weaker signal, potentially leading to static, distortion, or difficulty hearing the other party.
Factors like distance, obstacles (buildings, trees), and atmospheric conditions can affect signal strength. Use the indicator as a guide to adjust your position or antenna orientation for optimal communication. A consistently weak signal may indicate you are out of range or require a more powerful antenna.
Advanced Features and Settings
Explore the Rocky Talkie’s full potential with features like channel scanning and squelch adjustments. These settings enhance performance and minimize interference for clear communication.
Scanning for Available Channels
The Rocky Talkie’s scanning function is a powerful tool for locating active communication channels in your area. To initiate a scan, press and hold the ‘Scan’ button – its location may vary slightly depending on the specific model, but it’s generally easily accessible on the radio’s face.
During a scan, the radio automatically cycles through all available channels, pausing briefly on any channel where activity is detected. This allows you to monitor conversations and identify potential communication partners. The scan will continue until you press the ‘Scan’ button again to stop it, or until the radio detects activity on a channel and pauses.
It’s important to note that the scan function doesn’t automatically lock onto a channel; it simply pauses to allow you to listen. If you wish to communicate on a scanned channel, you’ll need to manually select it after the scan has paused. Remember to be respectful of existing conversations and identify yourself before transmitting.
Scanning is particularly useful in unfamiliar environments or when you’re unsure of the local channel usage. It helps you quickly find active frequencies and connect with others.
Setting Up and Using Squelch
The squelch control on your Rocky Talkie is crucial for minimizing unwanted background noise and static when no one is transmitting. It works by suppressing audio signals below a certain threshold, ensuring you only hear clear transmissions. Adjusting the squelch level is essential for optimal performance.
To set up squelch, typically you’ll find a rotary knob or a menu option dedicated to squelch control; Start by turning the squelch level down (or selecting the lowest setting in the menu). You’ll hear static. Slowly increase the squelch level until the static just disappears.
This is the optimal setting – it allows you to hear weak signals while still blocking out noise. If you set the squelch too high, you might miss weaker transmissions. Experiment to find the best balance for your environment. Remember, proper squelch setup significantly improves the clarity of your Rocky Talkie communications.
Incorrect squelch settings can lead to missed transmissions or constant static, so take the time to adjust it correctly.
Troubleshooting Common Issues
Encountering problems with your Rocky Talkie? Here’s a guide to resolving frequent issues. If your radio won’t power on, first ensure it’s adequately charged. A full charge takes several hours. If it still fails, check the power button for damage. No transmission? Verify you’re on the correct frequency and have pressed the Push-to-Talk (PTT) button firmly.
Weak signal? Adjust your antenna or relocate to a higher, unobstructed position. Interference can be caused by other electronic devices; move away from them. Static or noise? Adjust the squelch control to filter out unwanted sounds. If channels aren’t working, double-check your channel mapping against a reliable guide.
Remember to consult online resources like Reddit’s r/gmrs for community-sourced solutions. If problems persist, contact Rocky Talkie support for assistance. Regularly checking battery levels and antenna connections can prevent many issues.